Michelle Walker Training Academy
Presents
The Gel Nail
Guide
Everything you need to know about safety and science before you polish. Real knowledge. Real confidence. Real results.
Section One
Safety First
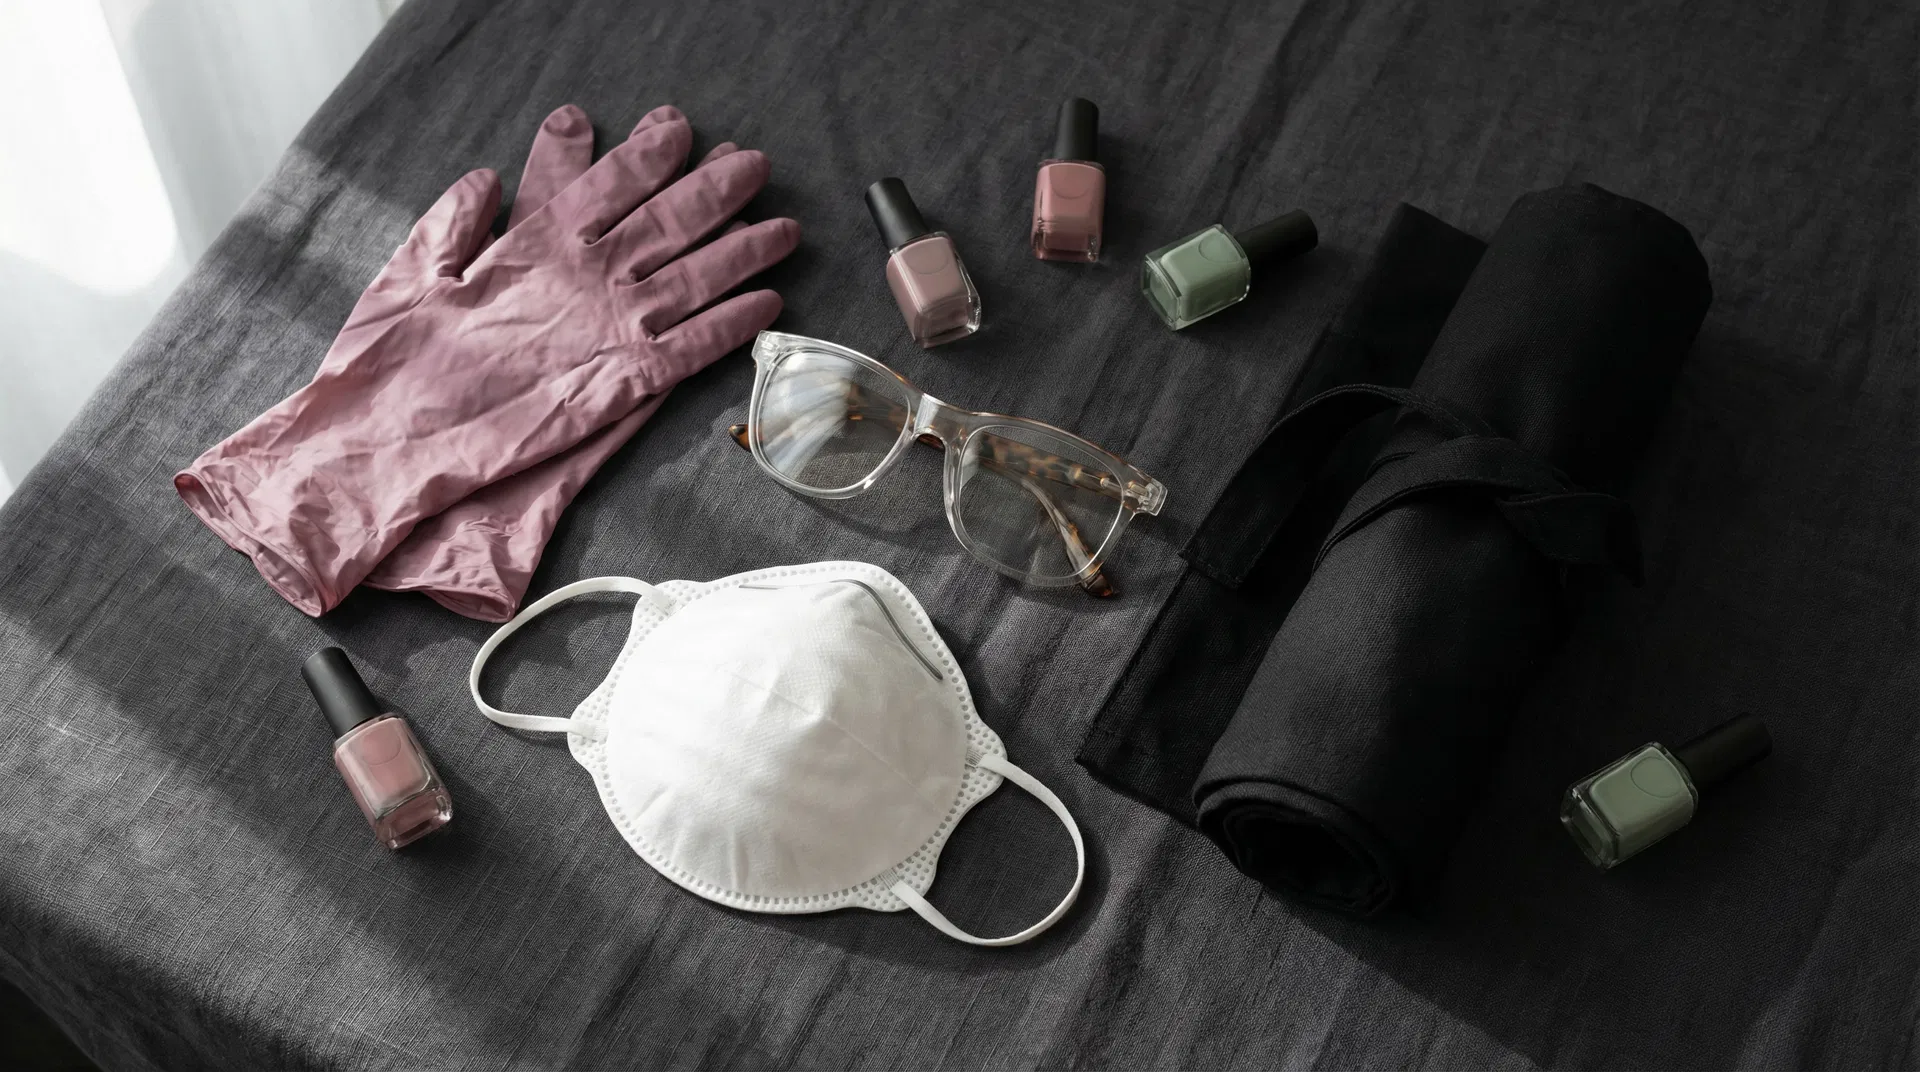
Before we get anywhere near a UV lamp, we need to talk about safety. This isn't the boring bit — this is what separates someone who knows what they're doing from someone who doesn't. Every professional nail technician uses Personal Protective Equipment.
Nitrile Gloves
Protects skin from chemicals
Safety Glasses
Shields eyes during filing
Dust Mask
Prevents particle inhalation
Apron
Protects clothing from spills
Ventilation &
UV Protection
Gel products release fumes, and breathing those in over time can cause headaches and irritation. Always work near an open window or use an extraction fan to keep the air circulating.
Keep Air Moving
Open windows or use an extraction fan to clear fumes from your workspace.
SPF 30+ Before Every Cure
Apply sunscreen to your hands or wear fingerless UV protection gloves before using the lamp.
"Your skin is exposed to UV light every time you cure a layer. Protecting it is a non-negotiable."
The Golden Rule
Never peel or pick off your gel polish.
When you peel gel off, you're not just removing the colour — you're ripping away layers of your actual nail. It causes thinning, weakness, and real damage. The only safe way to remove gel polish is by soaking it off with acetone.
Never Peel
Damages nail layers
Always Soak
Safe acetone removal
Section Two
The Science of
Gel Polish
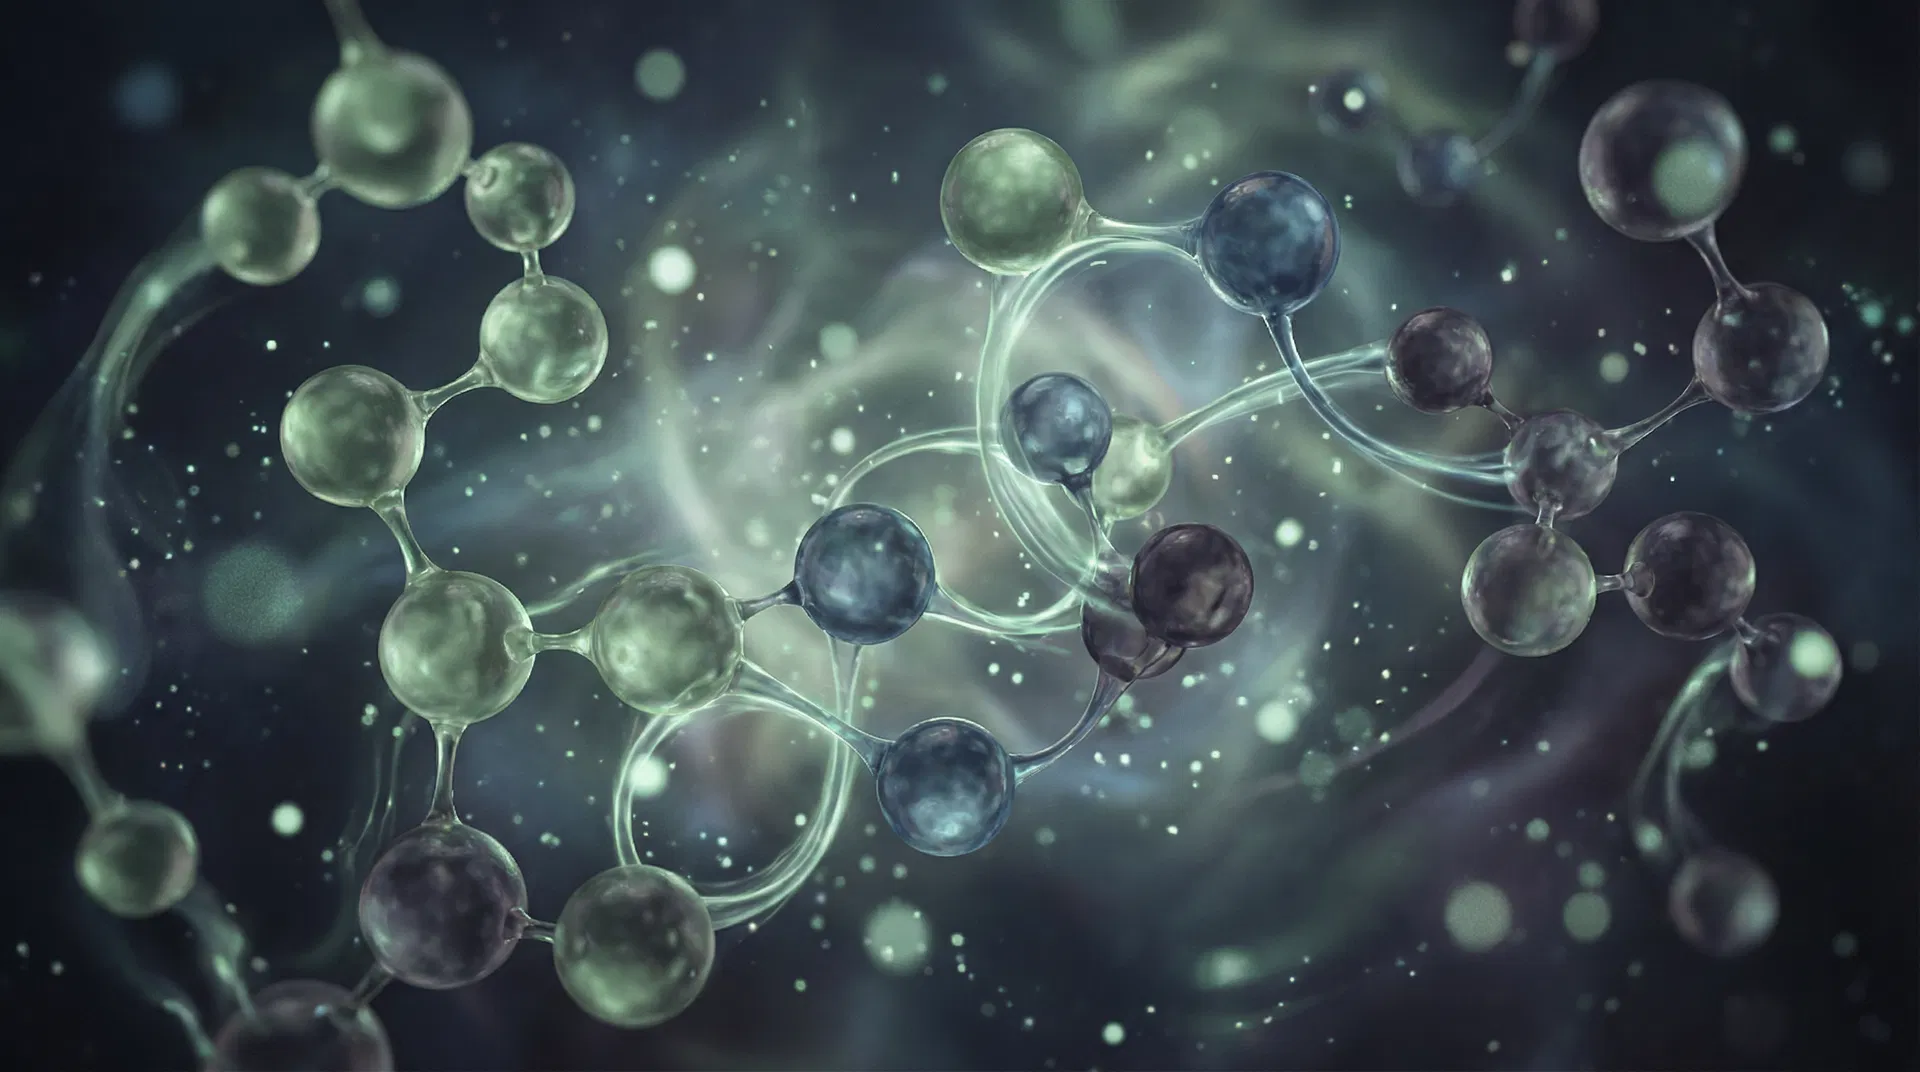
Gel polish looks like regular nail polish, but it's completely different. It's made from tiny building blocks that stay liquid until they meet UV or LED light. Here are the three key ingredients:
Oligomers
Short chains of molecules — the main building blocks of gel polish
Monomers
Individual molecules that link up with oligomers during curing
Photoinitiators
Light-sensitive triggers that start the curing reaction when hit by UV/LED light
Polymerization
Liquid → Solid in seconds.
UV / LED
Light Activates the Photoinitiators
When UV or LED light hits the gel, the photoinitiators wake up and start a chain reaction. They tell the oligomers and monomers to start bonding together.
Bonding
Molecules Link Into Polymer Chains
The molecules reach out and grab onto each other, forming long, super-strong chains called polymers. This is the exact moment gel polish transforms from a liquid into a hard, durable coating.
Cured
Solid, Glossy, and Long-Lasting
The result is a fully cured, rock-hard coating with a brilliant shine. This all happens in seconds, right there under the lamp. Chemistry in action — on your fingertips.
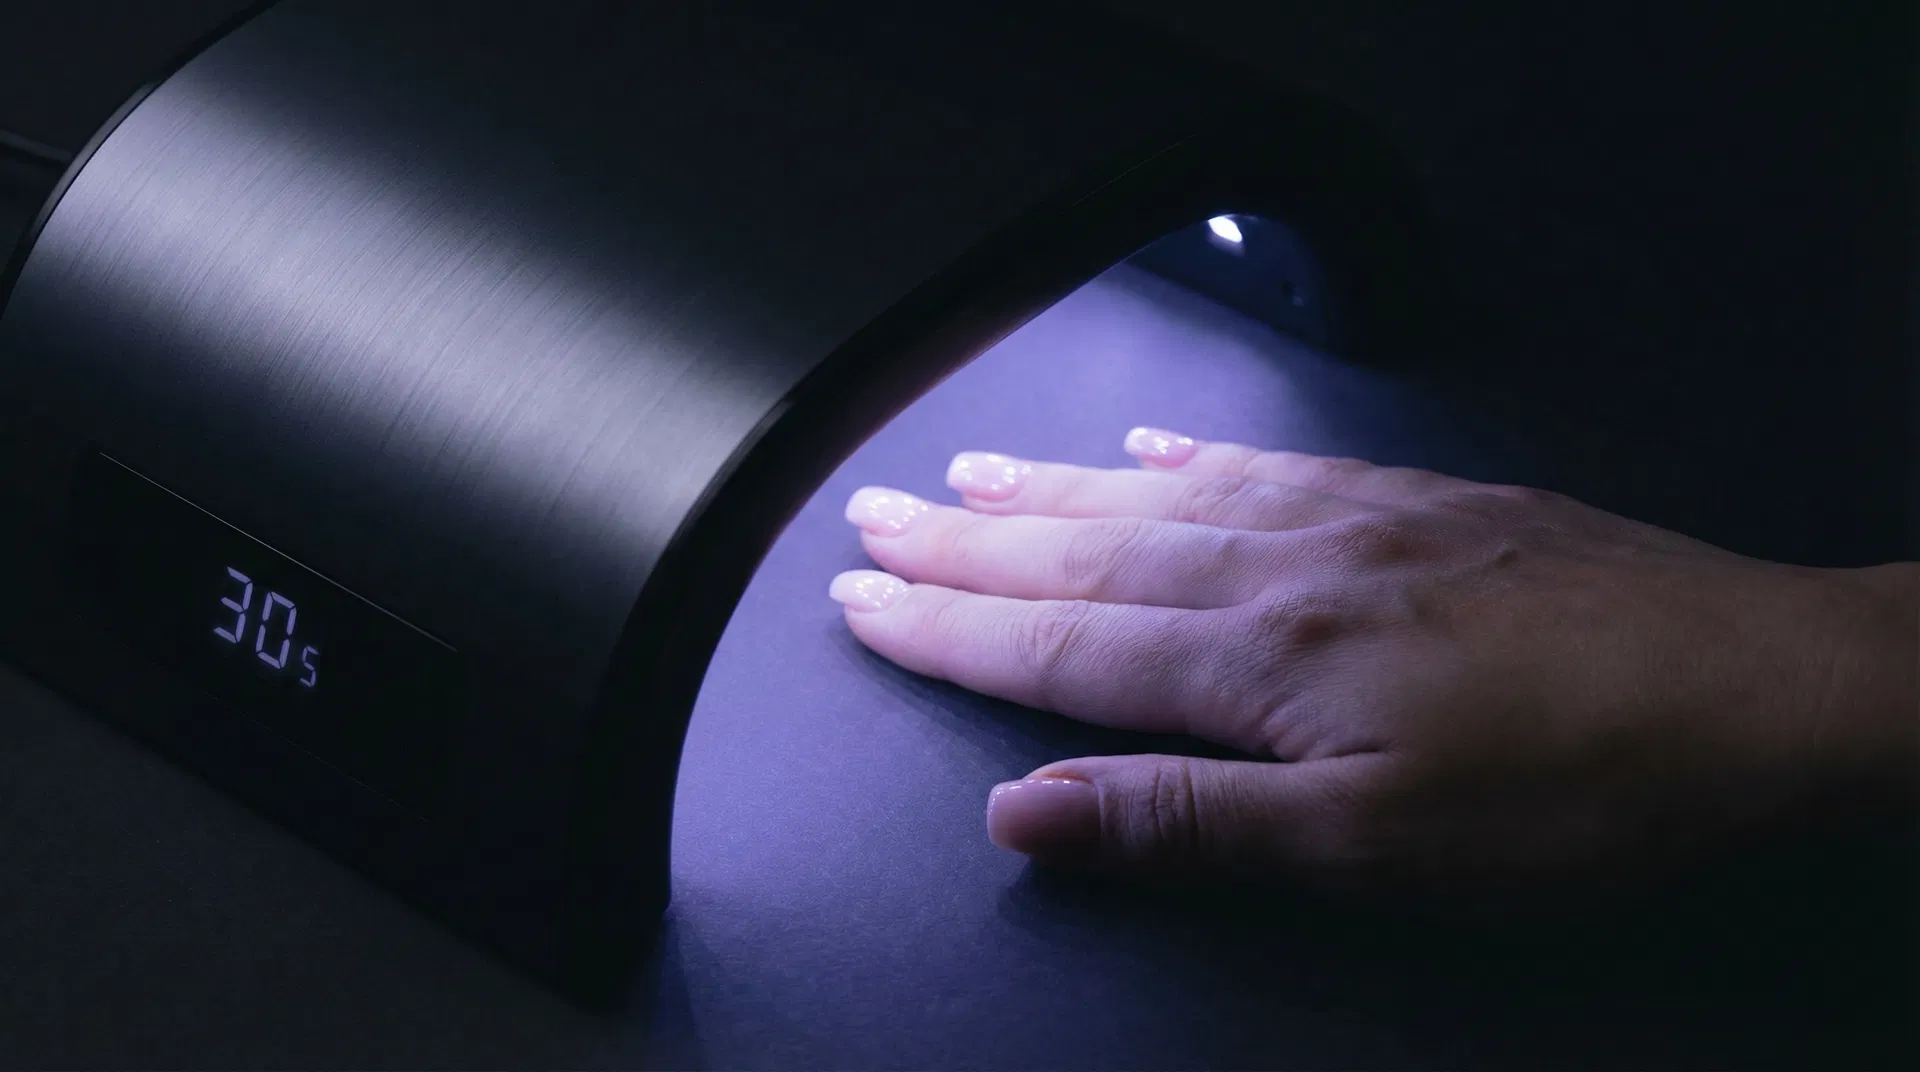
UV vs LED Lamps
UV Lamp
Emits a broader range of wavelengths. Takes longer to cure (2-3 minutes). Works with all gel polish formulas.
LED Lamp
Emits a focused, specific wavelength. Cures much faster (30-60 seconds). Only works with LED-compatible gel polish.
❌ You can't cure gel with a desk lamp, phone torch, or sunlight. Professional lamps are essential.
Heat Spikes
Explained
You might feel a quick flash of heat when your nails are curing. That's called a heat spike — an exothermic reaction where molecules release energy as they bond together.
Thin Layers = Less Heat
The thicker the layer, the stronger the heat spike — because more molecules are reacting at once. That's why thin layers are so important.
💡 Pro Tip: If it feels too hot, pull your hand out for a second, then put it back to finish curing.
Section Three
Application
Step by Step
Great nails start with great prep. Follow these eight steps for a professional, long-lasting gel manicure every time.
Sanitise
Clean hands thoroughly with soap and water or sanitiser.
Push Back Cuticles
Gently push back cuticles with an orangewood stick. Never cut them.
Buff the Nail
Lightly buff the surface to remove natural shine — this gives the gel grip.
Dehydrate
Wipe with dehydrator to remove all oils and moisture from the nail plate.
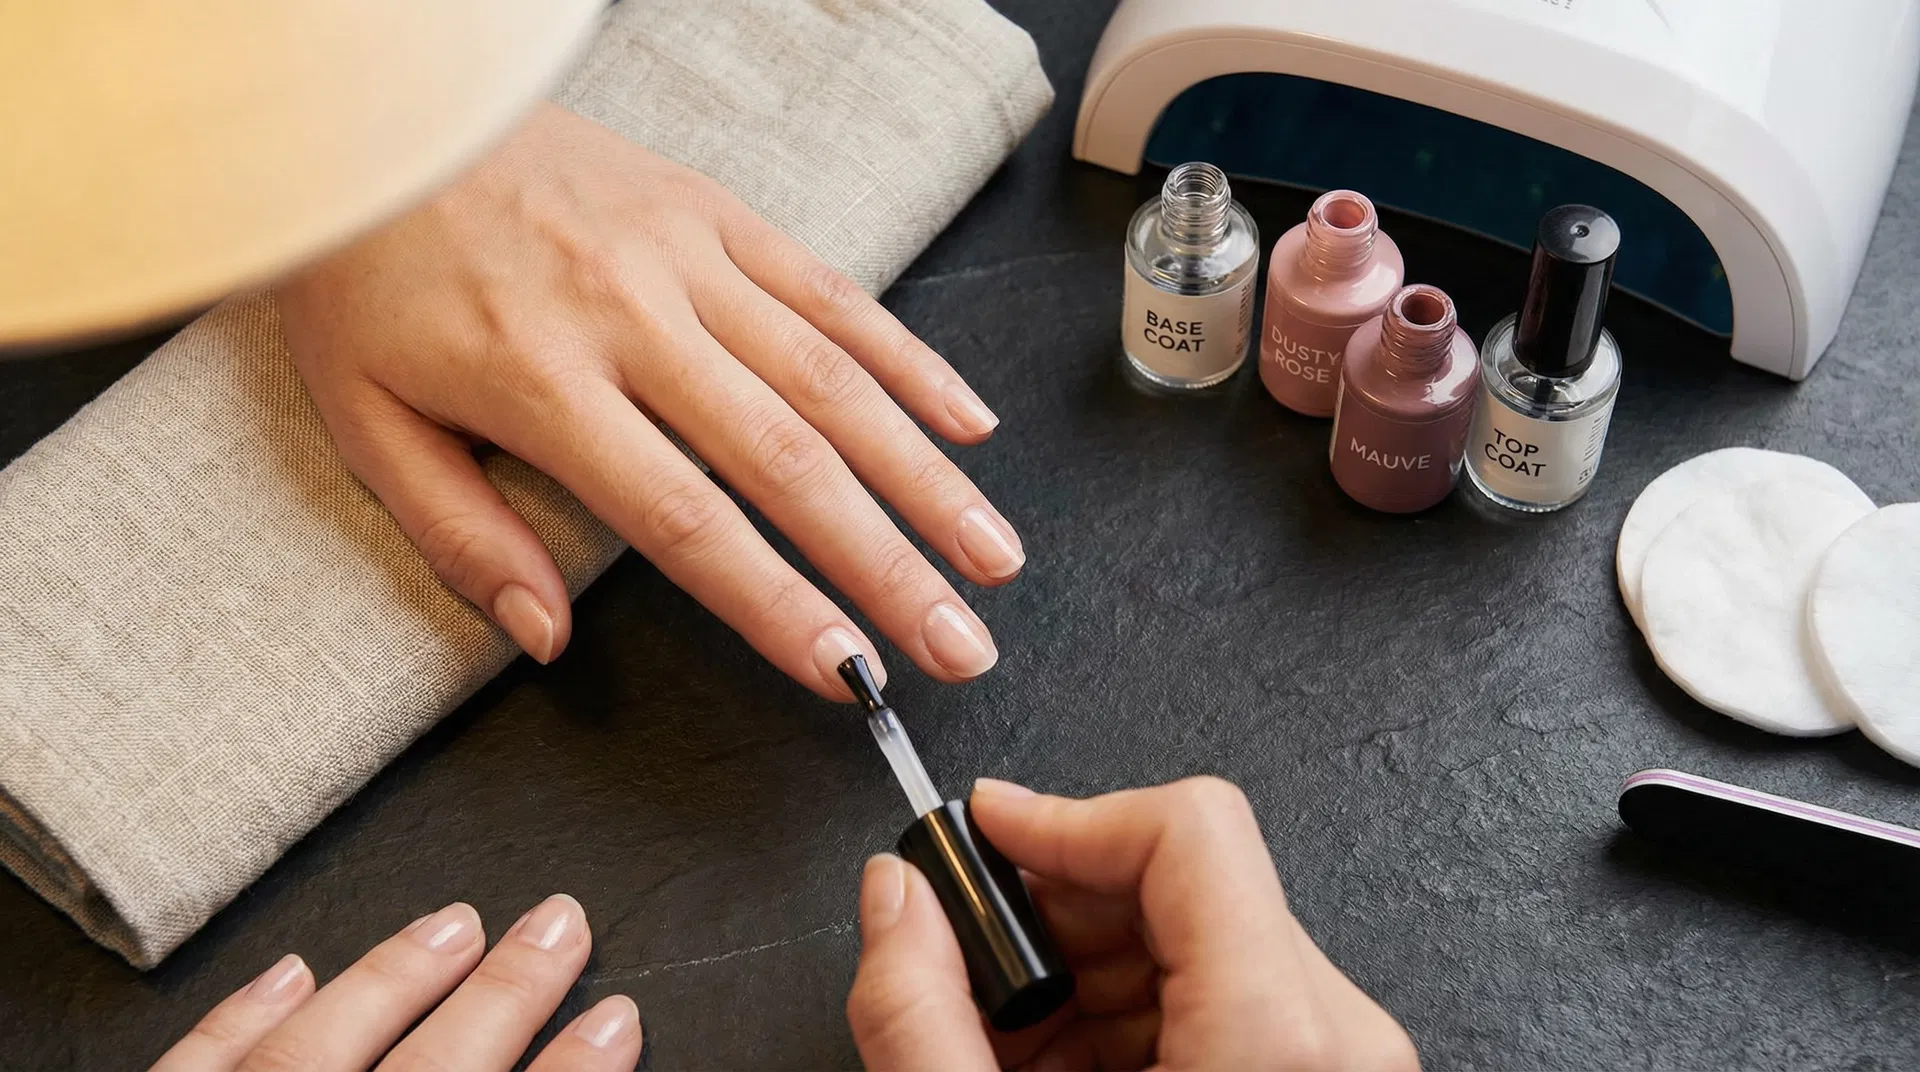
Base Coat + Cure
Apply a thin base coat, cap the free edge, and cure under the lamp.
Colour (x2) + Cure
Apply two thin coats of colour, curing each one. Thin layers always beat thick ones.
Top Coat + Cure
Seal with a thin top coat layer and cure for the final time.
Wipe + Nourish
Remove the inhibition layer with gel cleanser, then apply cuticle oil.
"Capping the free edge means running the brush along the very tip of the nail to seal it. This prevents lifting and makes your manicure last longer."
Section Four
Contraindications
Knowing when to stop — or take extra care.
A contraindication is a reason why a treatment should not go ahead, or needs extra caution. Infections, broken skin, and previous allergic reactions are absolute no-go situations. Tap each card to learn why.
Section Five
Contra-Actions
When something goes wrong during treatment.
A contra-action is an unexpected reaction during or after a treatment. This could include redness, itching, burning, swelling, or any discomfort. Knowing how to respond calmly and correctly is essential.
Common Contra-Actions
Your Response Protocol
Stop the treatment immediately.
Gently remove the product from the nail.
Wash the area with soap and water.
Apply something calming like aloe vera.
Write down exactly what happened.
If symptoms persist, advise seeing a doctor.
💡 Remember: Never ignore a reaction — no matter how small it seems. A calm, professional response protects everyone.
Safe Removal
The correct way to remove gel polish — every single time.
Soak a cotton pad in acetone, place on the nail, wrap in foil. Wait 10-15 minutes. Gently push away softened gel. Finish with cuticle oil.
Test Your Knowledge
The Gel Nail Quiz
What type of gloves should you wear when working with gel polish?
Key Takeaways
—Always wear PPE.
—Ventilate your workspace.
—Apply thin layers. Cure every coat.
—Check for contraindications before every service.
—Know how to respond to a contra-action.
—Never peel. Always soak.
"Safety isn't something that slows you down.
It's what makes you a professional."
Stay safe. Stay informed. Stay fabulous.
The Gel Nail Guide — Safety & Science
Michelle Walker Beauty · Educational Workshop Resource